Last updated on June 23, 2026 am
由GPT-5.5 xhigh参考前面的写作习惯进行的写作
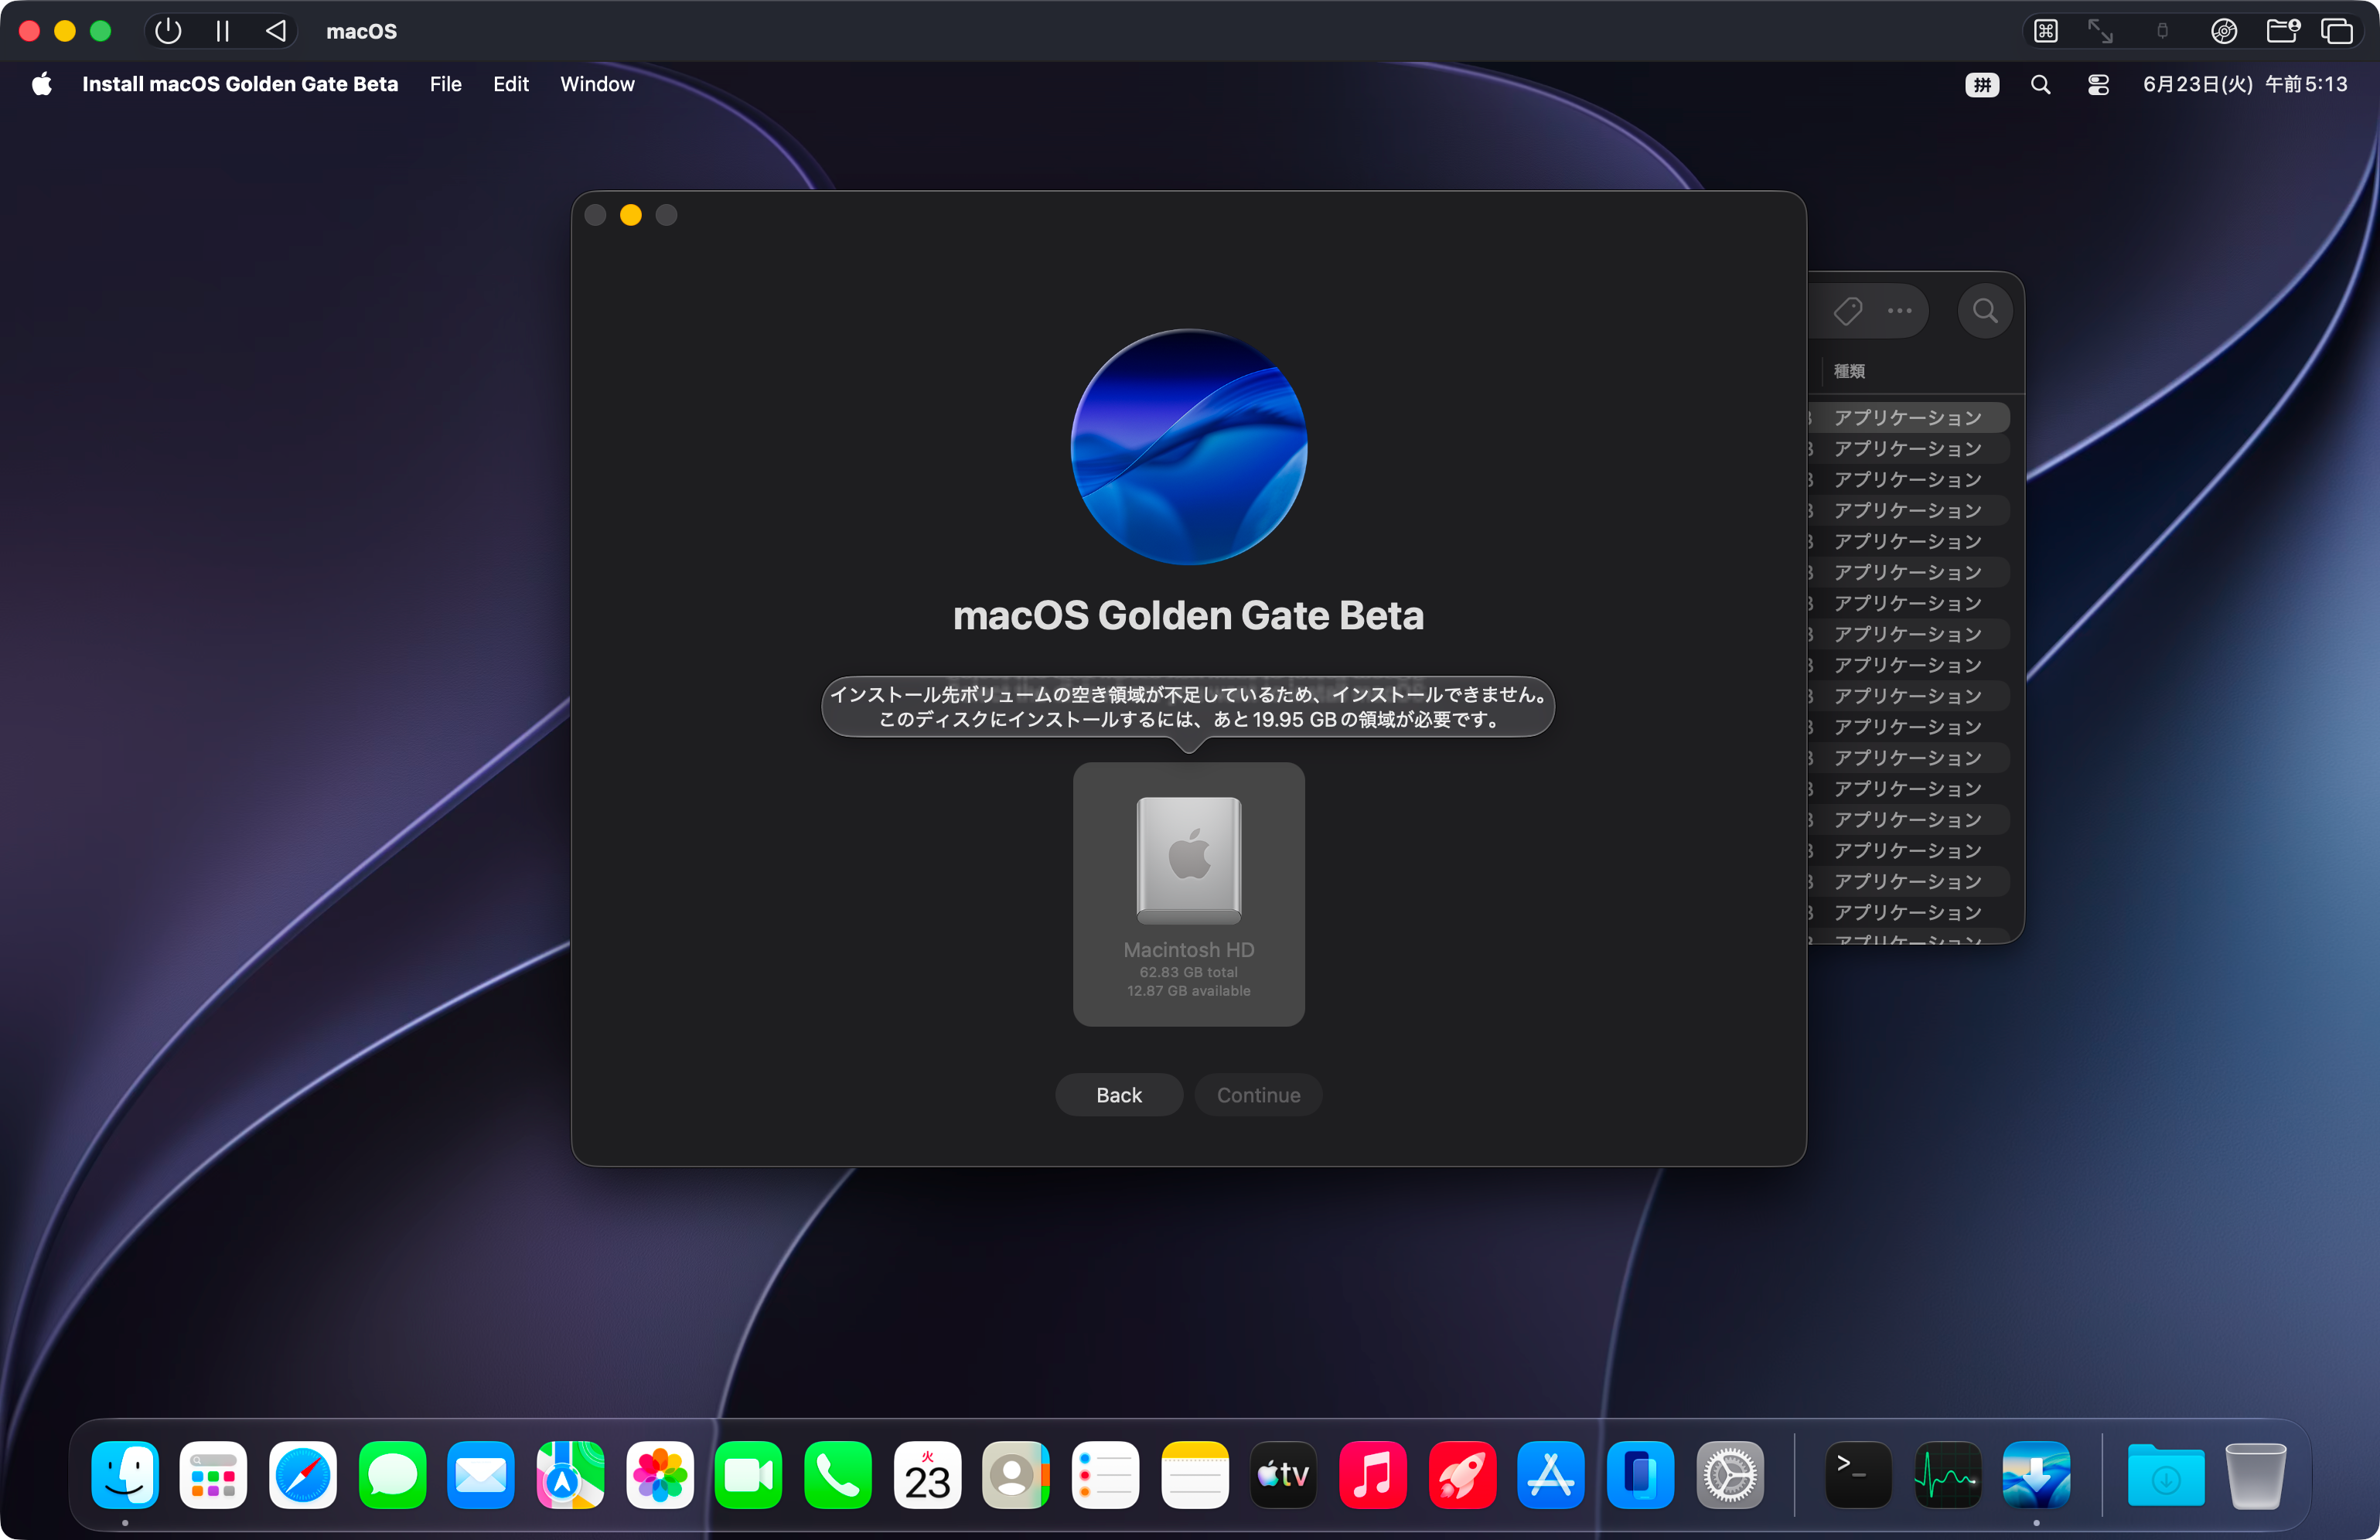
前言 事情的起因很简单:我在UTM里面跑了一台macOS 27的虚拟机,原本只是拿来尝鲜和测试,所以硬盘给得比较随意。结果从macOS 27 db1升级到db2的时候,系统非常不给面子地提示空间不足,安装也没法继续。
这就很尴尬了。虚拟机这种东西平时看着好像挺灵活,CPU、内存都能在设置里点点鼠标改掉,结果一到系统盘扩容就开始上强度。尤其这台还是Apple Silicon上的macOS虚拟机,不是传统x86虚拟机,也不是普通Linux根分区,里面有APFS、Preboot、Recovery、ISC一堆Apple味儿很冲的东西。于是本来只是想从64GB扩到128GB,最后变成了一场和diskutil、gpt、hdiutil、sgdisk的快乐团建。
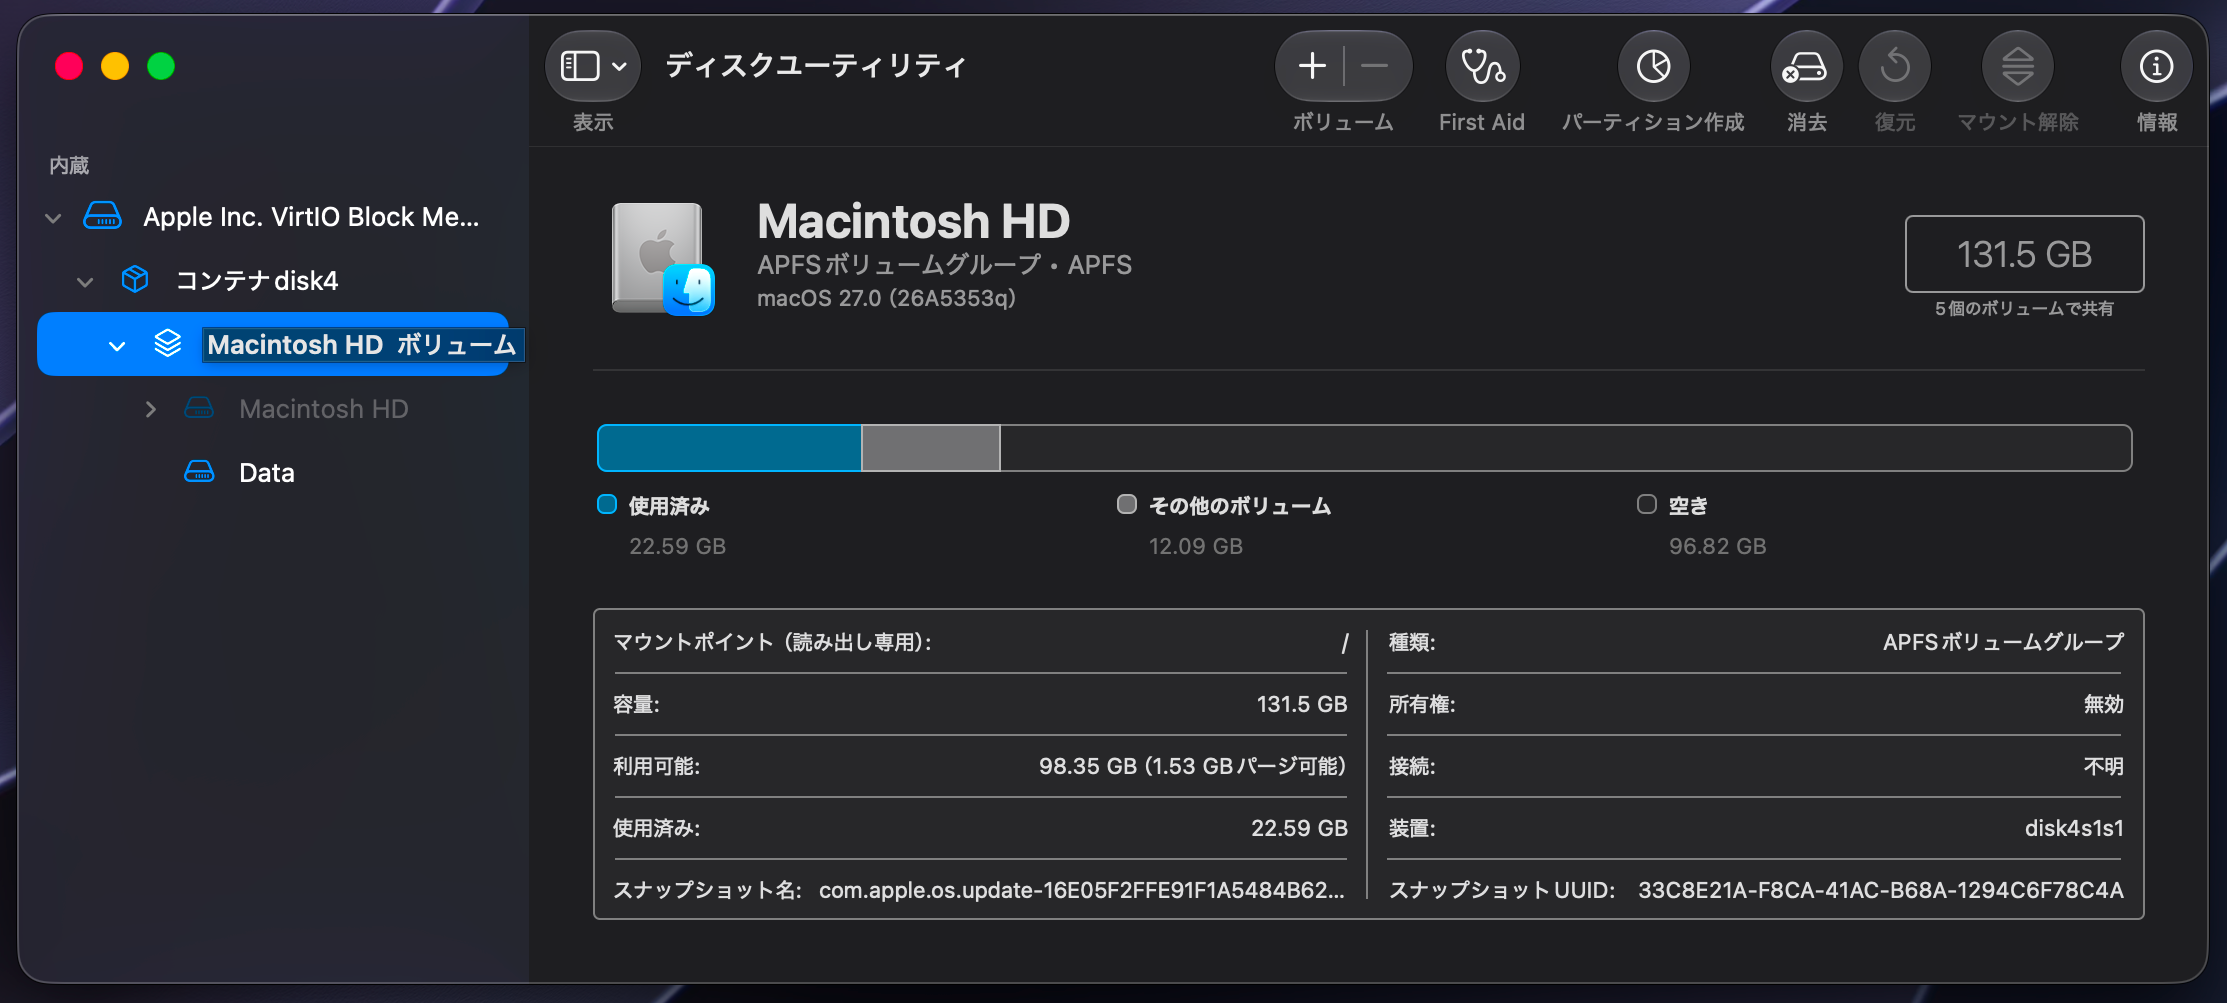
先说结论:最后是扩成功了,主APFS容器从六十多GB扩到了约131.5GB,并且我还把之前备份出来的Apple_APFS_Recovery分区恢复回去了。过程不算优雅,但非常有记录价值,毕竟下次再遇到我肯定不想重新踩一遍坑。
背景 这台虚拟机在UTM里面,路径大概是:
一开始我以为UTM的macOS虚拟机会用ASIF,也就是Apple Sparse Image Format。结果进包里一看,发现实际结构是这样的:
1
2
3
4
5
6
.
所以这台并不是.asif,主硬盘其实是这个raw格式的.img文件:
1 ~/Parallels/macOS.utm/Data/2E026EE7-1508-4357-95A0-6C51E3367C93.img
这一步一定要先确认清楚,别一上来就照着ASIF教程跑diskutil image resize。虚拟磁盘格式不同,扩容方式也不一样。我的这个文件用qemu-img一看,确实是raw:
1 qemu-img info Data/2E026EE7-1508-4357-95A0-6C51E3367C93.img
输出是这样:
1
2
3
4
5
6
7
8
9
image: Data/2E026EE7-1508-4357-95A0-6C51E3367C93.img
这里还有个很有意思的点:虽然我印象里它是64GB,但qemu-img看到的virtual size其实只有43.1GiB。估计是UTM和macOS显示容量、GiB/GB、实际镜像大小之间有点转换差异,总之以工具看到的为准。
先扩虚拟磁盘文件 扩这种raw镜像之前,第一件事永远是:虚拟机必须彻底关机 。不要Suspend,不要Save State,也不要让UTM在后台继续持有这个镜像文件。不然你在宿主机改磁盘文件,虚拟机同时还在写,基本就是请数据吃席。
保险一点的话,先备份整个.utm包。因为这是稀疏文件,所以复制的时候最好带上-S:
1
2
cd ~/Parallels
我这里先用qemu-img直接把raw镜像扩到128G:
1
2
cd ~/Parallels/macOS.utm
如果没有qemu-img,理论上也可以用truncate:
1 truncate -s 128g Data/2E026EE7-1508-4357-95A0-6C51E3367C93.img
不过我这里qemu-img已经在PATH里面了,所以直接用它。扩完之后再看一眼:
1 qemu-img info Data/2E026EE7-1508-4357-95A0-6C51E3367C93.img
输出变成:
1
2
3
4
5
6
7
8
9
image: Data/2E026EE7-1508-4357-95A0-6C51E3367C93.img
这里的结果就很舒服:
1
2
3
virtual size: 128 GiB
意思就是虚拟机看到的磁盘上限已经变成128GiB,但是宿主机上实际占用还是43GiB左右。这就是稀疏文件的好处:逻辑上变大,不代表马上把宿主机硬盘吃掉。之后虚拟机里面真的写入更多数据,宿主机上的实际占用才会跟着涨。
再用普通命令看也很直观:
1
2
ls -lh Data/*.imgdu -h Data/*.img
我这里是:
1
2
-rw-r--r--@ 1 stephenzeng staff 128G Jun 23 05:24 Data/2E026EE7-1508-4357-95A0-6C51E3367C93.img
ls显示128G,du显示43G,说明扩容成功,而且还是稀疏占用。到这里,宿主机层面的虚拟磁盘扩容已经完成。
进虚拟机看分区 虚拟磁盘文件变大之后,并不代表macOS里面的根目录自动变大。虚拟机里的操作系统只会看到“这块物理盘变大了”,但是原来的APFS容器还是原来的大小,后面多出来的是未分配空间。要想让/、/System/Volumes/Data这些真正用上空间,还得在虚拟机里扩APFS容器。
启动VM之后,先看磁盘布局:
当时我看到的是这个:
1
2
3
4
5
6
7
8
9
10
11
12
13
14
15
16
17
18
/dev/disk1 (internal, physical):
这时候就很明显了:
1
2
3
4
disk1s1 Apple_APFS_ISC 524.3 MB
问题就在这里。多出来的68.7GB空闲空间不在disk1s2后面,而是被disk1s3这个外层Recovery容器隔开了。APFS扩容有一个基本限制:它只能吃自己后面连续的空闲空间,不能跨过中间的分区去吃后面的free space。
也就是说,现在这个布局相当于:
1 主系统 APFS | Recovery | 空闲空间
主系统APFS看着后面有空间,但中间隔着Recovery,所以它吃不到。这个时候直接跑:
1 sudo diskutil apfs resizeContainer disk1s2 0
很可能不会如你所愿。0的意思是扩到最大可用空间,但这个“最大可用”必须是紧挨着APFS physical store后面的可用空间,不是整块盘上随便哪里空就能拿来用。
所以摆在面前的选择有两个:
不折腾主系统盘,把后面的free space做成第二个APFS分区,比如/Volumes/Extra
备份并删除外层Recovery分区,让空闲空间紧挨着主APFS容器,然后再扩主容器
如果只是放下载文件、源码仓库、临时安装包,第一个方案很稳,命令也简单:
1 sudo diskutil addPartition disk1 APFS Extra 0
但是我要解决的是macOS db2升级空间不足。系统更新这种东西很多内容就是要写进系统盘和Data卷,弄一个第二分区不一定解决问题。所以最后还是走了第二条:先备份Recovery,删除挡路的外层Recovery容器,扩主APFS,最后再把Recovery恢复回去。
是的,听起来就很折腾,实际上也确实很折腾。
处理挡路的Recovery 先说清楚,这里有两个Recovery,容易把人绕晕。
第一个是主APFS容器里面的Recovery volume,也就是disk4s3这种:
1
2
/dev/disk4 (synthesized):
这个是主系统APFS容器里面的卷,和Macintosh HD、Data、Preboot在同一个APFS container里共享空间。
第二个是外层GPT分区表上的Apple_APFS_Recovery Container,也就是disk1s3这种:
1
2
/dev/disk1 (internal, physical):
挡住主APFS扩容的是第二个,也就是外层的disk1s3。如果只看名字都叫Recovery,很容易一不小心就删错东西。这里一定要以diskutil list里的层级为准:我要删除的是物理盘disk1下面的第3个GPT分区,不是主APFS容器里的Recovery volume。
为了保险,我先把Recovery备份成了一个recovery.dmg。这一步可以在VM里面操作,也可以在别的环境里操作。核心就是把disk1s3对应的RecoveryOS容器保存下来。比如用hdiutil create -srcdevice这一类方式:
1 sudo hdiutil create -srcdevice /dev/disk1s3 -format UDZO -o ~/recovery.dmg
备份完成之后可以看一下镜像信息:
1 hdiutil imageinfo ~/recovery.dmg
我这个recovery.dmg后来看到的信息大概是这样:
1
2
3
4
5
6
7
8
9
10
11
12
13
Format Description: UDIF 読み出し専用圧縮(zlib)
这里可以看出它是一个压缩的APFS镜像,不是完整whole-disk镜像。这个信息后面恢复的时候非常关键,因为这种UDZO镜像不能直接dd if=recovery.dmg写回去。
备份好之后,就可以删除挡路的外层Recovery分区了:
1 sudo diskutil eraseVolume free none disk1s3
删完之后再次查看布局:
这时候变成了:
1
2
3
4
5
6
7
8
9
10
11
12
13
14
15
16
17
/dev/disk1 (internal, physical):
这下看起来就顺眼很多了:
1
2
3
disk1s1 Apple_APFS_ISC
主APFS后面已经直接跟着free space,理论上终于可以扩了。
第一次扩APFS:看着能扩,实际不行 按正常教程,这个时候应该直接:
1 sudo diskutil apfs resizeContainer disk1s2 0
或者对synthesized container执行:
1 sudo diskutil apfs resizeContainer disk4 0
但是我这里并没有这么顺利。先看limits倒是很正常:
1 sudo diskutil apfs resizeContainer disk4 limits
输出:
1
2
3
4
5
6
Resize limits for APFS Physical Store partition disk1s2:
这个输出看起来非常令人振奋:最大可以扩到136.9GB。于是我先试自动扩满:
1 sudo diskutil apfs resizeContainer disk4 0
结果:
1
2
Started APFS operation
这个报错的意思大概是“新大小和旧大小一样”,也就是它没有正确把后面的free space算进去。既然0自动扩满不行,那就手动指定大小:
1 sudo diskutil apfs resizeContainer disk4 136g
结果还是失败:
1
2
3
4
Started APFS operation
一开始我以为是136g太贴边了,那就降一点:
1
2
3
4
sudo diskutil apfs resizeContainer disk4 128gsudo diskutil apfs resizeContainer disk4 125gsudo diskutil apfs resizeContainer disk4 120gsudo diskutil apfs resizeContainer disk4 80g
结果全都是同一个-69519。连80g都不行,那就不是目标大小太大的问题了。
这时候我怀疑过几个方向:
GPT备份表是不是还在旧磁盘末尾,没跟着raw镜像扩容移动
FileVault是不是影响在线扩容
当前系统正在从这个APFS容器启动,所以live resize有bug
macOS 27 beta自己的APFS行为是不是不太稳定
先检查GPT:
1
2
diskutil verifyDisk disk1sudo gpt -r show /dev/disk1
结果看起来并没有坏:
1
2
3
4
5
6
7
8
9
10
Started partition map verification on disk1
gpt看到的布局也是正常的:
1
2
3
4
5
6
7
8
9
10
start size index contents
也就是说,GPT本身看起来没坏,主APFS后面确实有连续free space,备份GPT表也在磁盘末尾。那为什么diskutil apfs resizeContainer还是扩不了?只能说macOS自己的磁盘工具在这种“Apple Silicon UTM + macOS beta + 当前启动盘在线扩容”的组合下,多少有点玄学。
不过既然GPT没坏,那就继续沿着diskutil这条路试。最开始我直接对物理分区disk1s2指定目标大小:
1
2
3
4
5
sudo diskutil apfs resizeContainer disk1s2 130gsudo diskutil apfs resizeContainer disk1s2 120gsudo diskutil apfs resizeContainer disk1s2 110gsudo diskutil apfs resizeContainer disk1s2 100gsudo diskutil apfs resizeContainer disk1s2 70g
结果全都失败,而且报错还不是前面的-69519,而是:
1
2
3
4
5
The size (130g) must not be greater than the partition map allocable size
连70g都说大于可分配大小,这就很离谱了。明明diskutil list里后面还有一大段free space,说明此时diskutil对disk1s2这个physical store的可扩范围判断不对。
于是我改用synthesized APFS container,也就是当时的disk4。先看limits:
1 sudo diskutil apfs resizeContainer disk4 limits
这时候输出反而变正常了:
1
2
3
4
5
6
Resize limits for APFS Physical Store partition disk1s2:
这说明APFS其实知道自己最大能到136.9GB,只是自动扩满和物理分区扩容都没有顺利工作。于是继续试显式大小:
1
2
3
4
5
sudo diskutil apfs resizeContainer disk4 136gsudo diskutil apfs resizeContainer disk4 128gsudo diskutil apfs resizeContainer disk4 125gsudo diskutil apfs resizeContainer disk4 120gsudo diskutil apfs resizeContainer disk4 80g
但结果又全部变回同一个报错:
1
2
3
4
Started APFS operation
80g也报同样的错,所以这已经不是“目标太大”了。这个阶段我基本把可能原因都怀疑了一遍。先怀疑GPT,于是跑:
1
2
diskutil verifyDisk disk1sudo gpt -r show /dev/disk1
前面已经贴过,结果是The partition map appears to be OK,GPT主表和备份表看起来也都在正确位置。但现在回头看,真正的关键步骤应该不是verifyDisk,而是后面我又对整块物理盘跑了一次修复:
1 sudo diskutil repairDisk disk1
这一步会提示修复分区表可能有风险,确认自己已经备份之后输入:
虽然前面的verifyDisk说分区表OK,但repairDisk disk1很可能重新写入/刷新了GPT相关信息,至少是让macOS内核和diskutil重新接受了这张扩容后的partition map。也就是说,后面能成功扩APFS,关键转折大概率就在这里,而不是我前面反复换80g、120g、128g那些目标大小。
修完整盘之后,我又怀疑APFS容器本身有问题,于是继续跑:
1
2
diskutil verifyVolume disk4sudo diskutil repairVolume disk4
如果系统提示正在使用中无法修,就重启再试:
重启之后设备号可能会变化,所以每次都要重新看:
1
2
diskutil list
我还怀疑过FileVault会不会影响扩容,所以查了一下:
1
2
fdesetup status
如果FileVault正在加密或者解密,那确实有可能让APFS resize变得更诡异;但我这个报错不像是典型的FileVault锁定问题,因为limits已经能正常给出最大值,说明APFS至少知道理论上可以扩。
修完之后重启一次,让系统重新读取分区表:
重启后再看diskutil list和resizeContainer limits,这时候分区表状态就正常多了。最后不要再用0自动扩满,也不要贴着最大值扩,而是明确给主APFS指定一个目标大小,同时给后面的RecoveryOSContainer留下5.4GB空间。我的目标是约131.5GB:
1 sudo diskutil apfs resizeContainer disk1s2 131499999232B
如果当时disk1s2不接受,就换成diskutil list里显示的APFS synthesized container,例如disk4或者重启后的disk3:
1 sudo diskutil apfs resizeContainer disk4 131499999232B
这个地方真正关键的是:先删掉挡路的外层Recovery,让free space连续;然后对整盘disk1跑diskutil repairDisk,让GPT/partition map状态被修复或刷新;重启后重新确认设备号;最后不要用0,而是用明确的字节数给APFS留出Recovery的空间。
主容器扩好后的布局 最后扩好主APFS之后,我在VM里面看到的布局是这样的:
1
2
3
4
5
6
7
stephenzeng@Stephennokasoumashin ~ % diskutil list /dev/disk1
这里的结果已经符合预期:主APFS从六十多GB变成了131.5GB,最后还剩5.4GB free space,刚好用来恢复之前备份的外层Apple_APFS_Recovery。
再用gpt看一下精确sector:
1 sudo gpt -r show /dev/disk1
输出:
1
2
3
4
5
6
7
8
9
10
start size index contents
所以最后这块空闲区域是:
1
2
start = 257859976
大小是:
1 10575447 * 512 = 5,414,628,864 bytes
正好就是5.4GB左右。接下来要做的就是在这段free space上重新建一个Apple_APFS_Recovery分区,然后把recovery.dmg写回去。
恢复Recovery:VM里直接gpt add失败 按照想象中的正常流程,在VM里面直接给disk1加回第3个GPT分区就行。Apple Silicon macOS的外层RecoveryOSContainer分区类型是:
1 52637672-7900-11AA-AA11-00306543ECAC
所以命令应该是:
1
2
3
4
5
6
7
sudo gpt add \
结果不出意外地失败了:
1 gpt add: operation not permitted: add
这也合理。当前系统就从这块虚拟磁盘启动,让它在线改自己的GPT分区表,macOS内核不答应也很正常。正常真机可以进Recovery或者外部启动盘处理,但这台是Apple Silicon上的UTM macOS虚拟机,我这里没法方便地进入Recovery环境,也没法像x86虚拟机那样随便挂一个ISO进去救场。
于是只能回到宿主机处理这个raw镜像。
宿主机挂载raw镜像的大坑 宿主机处理之前,还是先把VM彻底关机,不能Suspend。然后在宿主机设置变量:
1 IMG="$HOME /Parallels/macOS.utm/Data/2E026EE7-1508-4357-95A0-6C51E3367C93.img"
一开始我以为直接这样挂就行:
1 hdiutil attach -nomount -imagekey diskimage-class=CRawDiskImage "$IMG "
结果宿主机只认出一整块空盘:
1
2
3
/dev/disk4 (disk image):
再看gpt也是什么分区都没有:
1
2
start size index contents
这就很吓人了。虚拟机里面明明能正常启动,怎么宿主机看这个.img像白纸一样?这时候千万不能手贱在宿主机对这个/dev/disk4做partition、erase、gpt add之类操作,因为宿主机此时看到的是错误视角,一写就可能把虚拟机磁盘写烂。
为了确认GPT签名到底在哪,我直接在镜像里搜EFI PART:
1 LC_ALL=C grep -aobm 10 "EFI PART" "$IMG "
结果看到了:
1
2
3
4
5
6
7
8
9
10
5243392:EFI PART
关键是第一个偏移:
1
2
5243392 = 5242880 + 512
GPT主表头正常应该在“磁盘起点 + 512字节”的位置。也就是说,这个.img前面有一个5MiB的前置区域,真正给VM看的虚拟磁盘从文件偏移5242880字节开始。怪不得宿主机从文件开头当磁盘起点时什么都看不到。
hdiutil attach有一个-section参数,可以从镜像的某个sector开始挂载。它的单位是512字节sector,所以:
于是用-section 10240重新挂:
1
2
3
4
hdiutil attach -nomount -readonly \"$IMG "
这次终于对了:
1
2
3
4
/dev/disk4 GUID_partition_scheme
到这里才算真正从宿主机看到了VM里的分区表。后面所有宿主机操作这个镜像的命令,都必须记得带-section 10240,否则宿主机会把它当成一块空盘。
宿主机重建Recovery分区 确认-section 10240能看到分区之后,改成读写挂载:
1
2
3
4
5
6
hdiutil detach /dev/disk4"$IMG "
当时宿主机看到的是:
1
2
3
4
5
6
/dev/disk4 (disk image):
再用gpt看:
1
2
3
4
5
6
7
8
start size index contents
这里还有一个小坑:宿主机通过-section 10240挂出来时,free space大小和VM里面看到的不完全一致。VM里是10575447,宿主机这里一开始是10565240,少了10207个sector,差不多也是5MiB。这说明单纯-section 10240挂出来的视角有点截短,后面没有完整包含secondary GPT。
我试过带count挂完整guest disk:
1
2
3
4
hdiutil attach -nomount -readwrite -noverify -noautofsck \"$IMG "
结果报:
1 hdiutil: attach failed - Illegal seek
原因也很简单:从偏移10240个sector开始,再要求读取268435456个sector,就需要原文件长度再多出10240个sector,也就是5MiB。于是给镜像文件尾部补上这5MiB:
1 2 3 4 5 6 cur=$(stat -f %z "$IMG " )10240 + 268435456 ) * 512 ))echo "current bytes = $cur " echo "needed bytes = $needed " echo "delta bytes = $((needed - cur) )"
确认delta是5242880之后:
1 truncate -s "$needed " "$IMG "
然后重新挂完整section:
1
2
3
4
hdiutil attach -nomount -readwrite -noverify -noautofsck \"$IMG "
这次就能看到完整GPT尾部了。
接下来重建第3个Recovery分区。macOS自带gpt add在宿主机这里还是报operation not permitted,所以我换成了gptfdisk里的sgdisk:
创建分区:
1
2
3
4
5
sudo sgdisk \
这里的结束sector是:
1 257859976 + 10575447 - 1 = 268435422
sgdisk执行的时候给了一堆warning:
1
2
3
4
5
6
7
8
9
10
11
12
13
Caution: invalid backup GPT header, but valid main header; regenerating
看着很吓人,但这里其实正是我们预期中的状态:之前section视角确实缺了尾部,backup GPT不完整;sgdisk写入时顺手把backup GPT重建了。重新detach再attach之后,分区表已经正常:
1
2
3
4
5
6
7
8
9
hdiutil detach /dev/disk4 2>/dev/null || diskutil eject /dev/disk4"$IMG " sudo gpt -r show /dev/disk4
输出:
1
2
3
4
5
6
7
8
9
10
11
12
13
14
15
16
17
/dev/disk4 (disk image):
到这里,外层Recovery分区的坑已经填回去了。接下来只差把recovery.dmg里的内容写回disk1s3/disk4s3。
恢复Recovery内容 Recovery分区本身建好之后,有两种地方可以恢复内容:
在宿主机对/dev/disk4s3恢复
启动VM之后,在虚拟机内对/dev/disk1s3恢复
我最后选择回到虚拟机内恢复。原因很简单:宿主机虽然现在能看到GPT分区,但它不一定能完整理解macOS 27 beta的APFS结构;而VM里面自己的macOS当然更懂自己的APFS。所以宿主机只负责建回GPT分区,具体写Recovery内容交给VM内部处理。
先在宿主机把镜像detach掉:
1 hdiutil detach /dev/disk4 2>/dev/null || diskutil eject /dev/disk4
然后启动VM,在虚拟机里看分区:
1 diskutil list /dev/disk1
这时候已经能看到disk1s3回来了:
1
2
3
4
5
6
/dev/disk1 (internal, physical):
分区层面已经正常,下一步是把recovery.dmg恢复进去。
asr失败 一开始我想用Apple自己的asr restore,看起来应该是最正统的:
1 2 3 4 5 6 7 8 9 10 REC="$HOME /recovery.dmg" sudo asr imagescan --source "$REC " sudo diskutil unmountDisk force /dev/disk1s3sudo asr restore \source "$REC " \
结果卸载先失败了一次:
1 Forced unmount of disk1 failed: at least one volume could not be unmounted
继续跑asr restore也失败:
1
2
3
4
5
Validating target...done
这个时候就能看出来,asr对这个源镜像并不是很满意。前面hdiutil imageinfo已经看过了,我的recovery.dmg是一个UDZO压缩APFS镜像,而且没有完整分区表:
1
2
3
4
Format: UDZO
它不是那种asr最喜欢的完整磁盘镜像,所以这里就不要继续和asr互相折磨了。
挂载源镜像,再dd 最后实际可行的方法是:先把recovery.dmg挂成block device,再把这个源设备块级复制到disk1s3。注意,不是直接dd if=recovery.dmg,因为这个文件是压缩UDIF镜像,必须先让hdiutil展开。
先挂载源镜像,但不挂文件系统:
1 2 REC="$HOME /recovery.dmg" readonly "$REC "
输出是这样:
1
2
3
4
5
6
7
8
ディスク全体(Apple_APFS: 0)のチェックサムを計算中…
这里要注意源设备用哪个。/dev/disk6是源镜像展开出来的physical APFS store,/dev/disk7是synthesized APFS container。所以真正要读的是/dev/rdisk6,不是rdisk7,更不是recovery.dmg文件本身。
为了避免有卷还挂着,先卸载源容器:
1 sudo diskutil unmountDisk force /dev/disk7
再找一下目标disk1s3对应的APFS container。因为disk1s3本身是physical store,系统可能已经把它synthesize成了disk3之类的APFS container:
1 diskutil apfs list | grep -B6 -A12 "Physical Store.*disk1s3"
如果看到类似:
1
2
APFS Container Reference: disk3
就卸载这个container:
1 sudo diskutil unmountDisk force /dev/disk3
然后确认源比目标小。源镜像是:
目标disk1s3是:
目标稍微大一点,所以能写进去。最后执行块级复制:
1
2
sudo dd if =/dev/rdisk6 of=/dev/rdisk1s3 bs=4m status=progresssync
这里最重要的就是别写反:
1
2
if=/dev/rdisk6 源 recovery.dmg 展开的 physical store
不要写到/dev/rdisk1,那是整块系统盘;也不要写到/dev/rdisk7,那是源镜像的APFS容器。dd这种东西没有后悔药,写错就是大型悲剧现场。
写完之后卸载源镜像,然后重启VM:
1
2
hdiutil detach /dev/disk6 2>/dev/null || diskutil eject /dev/disk6sudo reboot
最终检查 重启之后,再看物理盘布局:
1 diskutil list /dev/disk1
输出:
1
2
3
4
5
6
/dev/disk1 (internal, physical):
这说明GPT类型已经是正确的Apple_APFS_Recovery,而且APFS驱动也能把它识别成Container disk3。
再看Recovery容器:
1 diskutil apfs list disk3
输出:
1
2
3
4
5
6
7
8
9
10
11
12
|
最后跑一次校验:
1 diskutil verifyVolume disk3
输出里最关键的是这几行:
1
2
3
4
5
6
7
8
9
Checking volume /dev/rdisk3s1
到这里就可以认为RecoveryOSContainer恢复成功了:
1
2
3
4
GPT分区类型正确:Apple_APFS_Recovery
至此,UTM里的macOS 27虚拟机硬盘扩容算是完成了。主系统APFS有了足够空间继续升级db2,外层Recovery也恢复回去了,虽然过程曲折了一点,但最后结果还算干净。
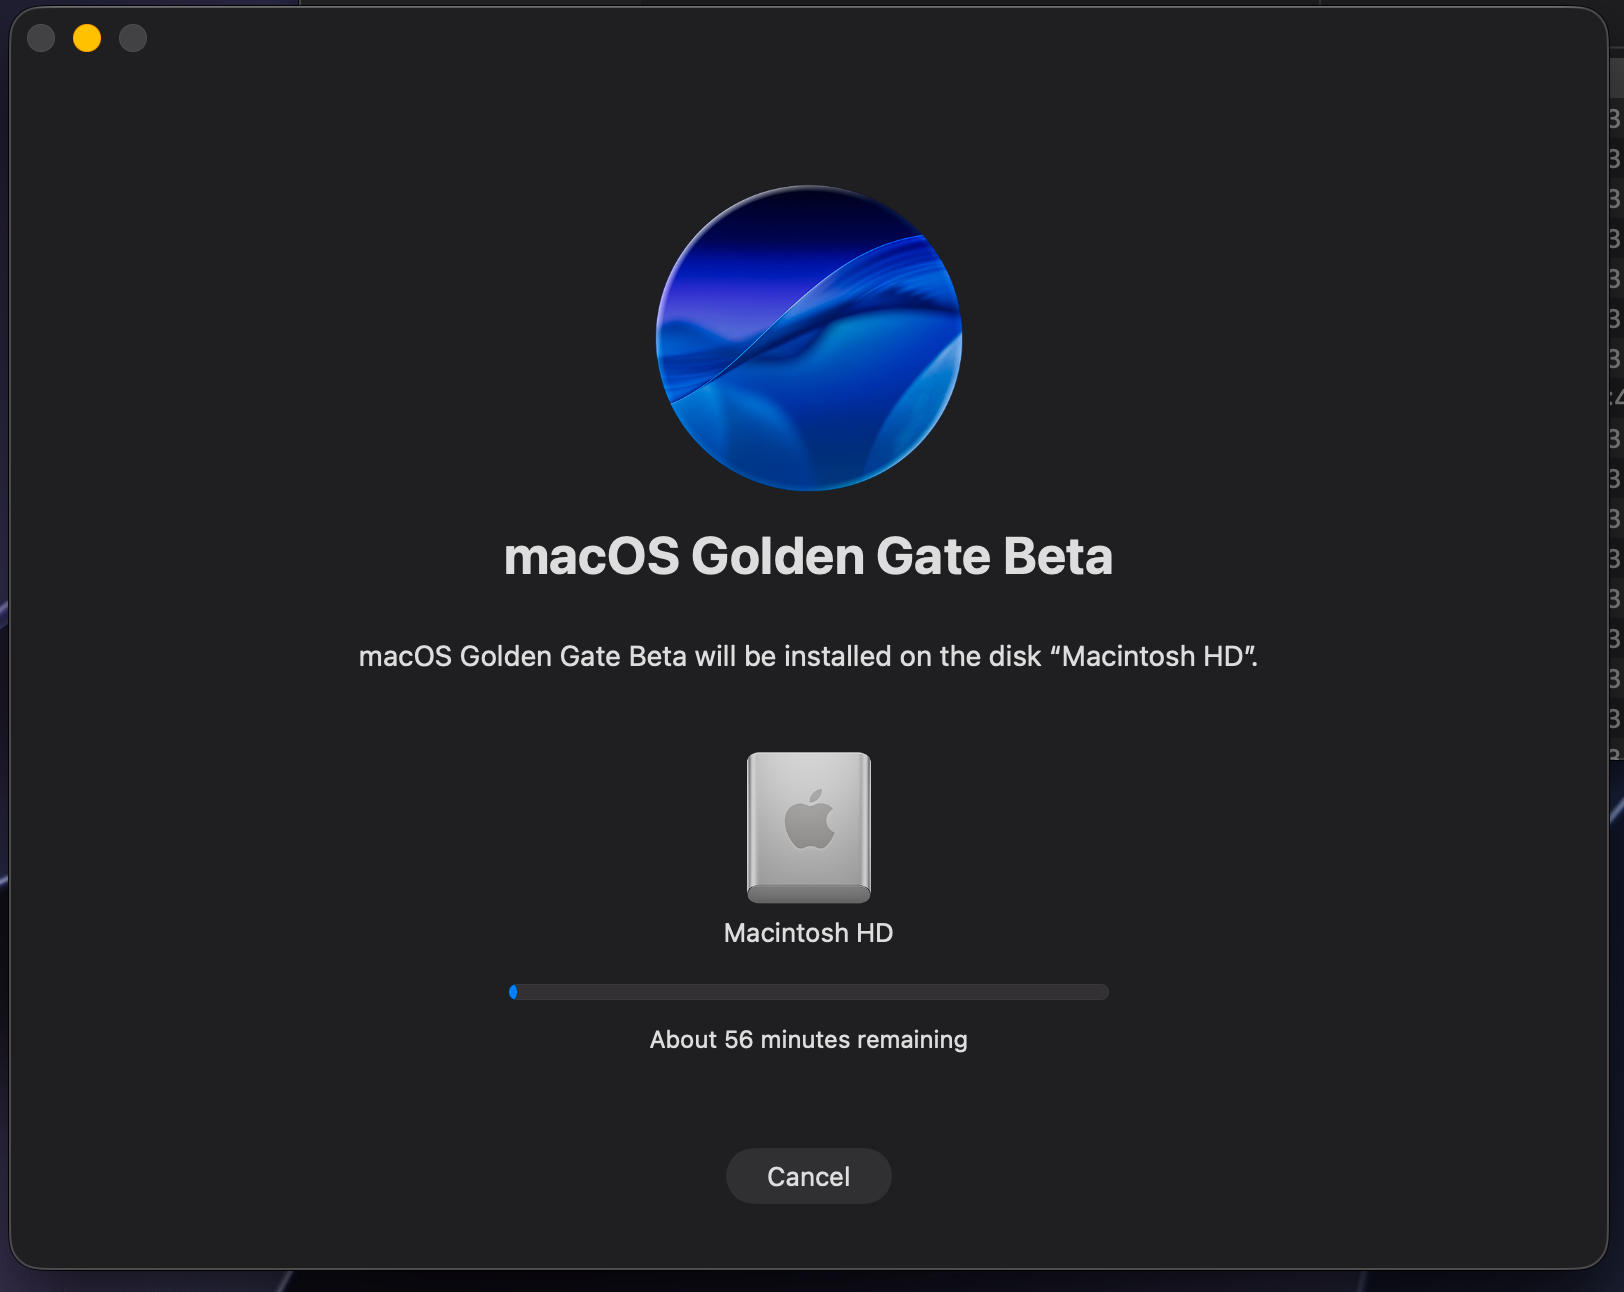
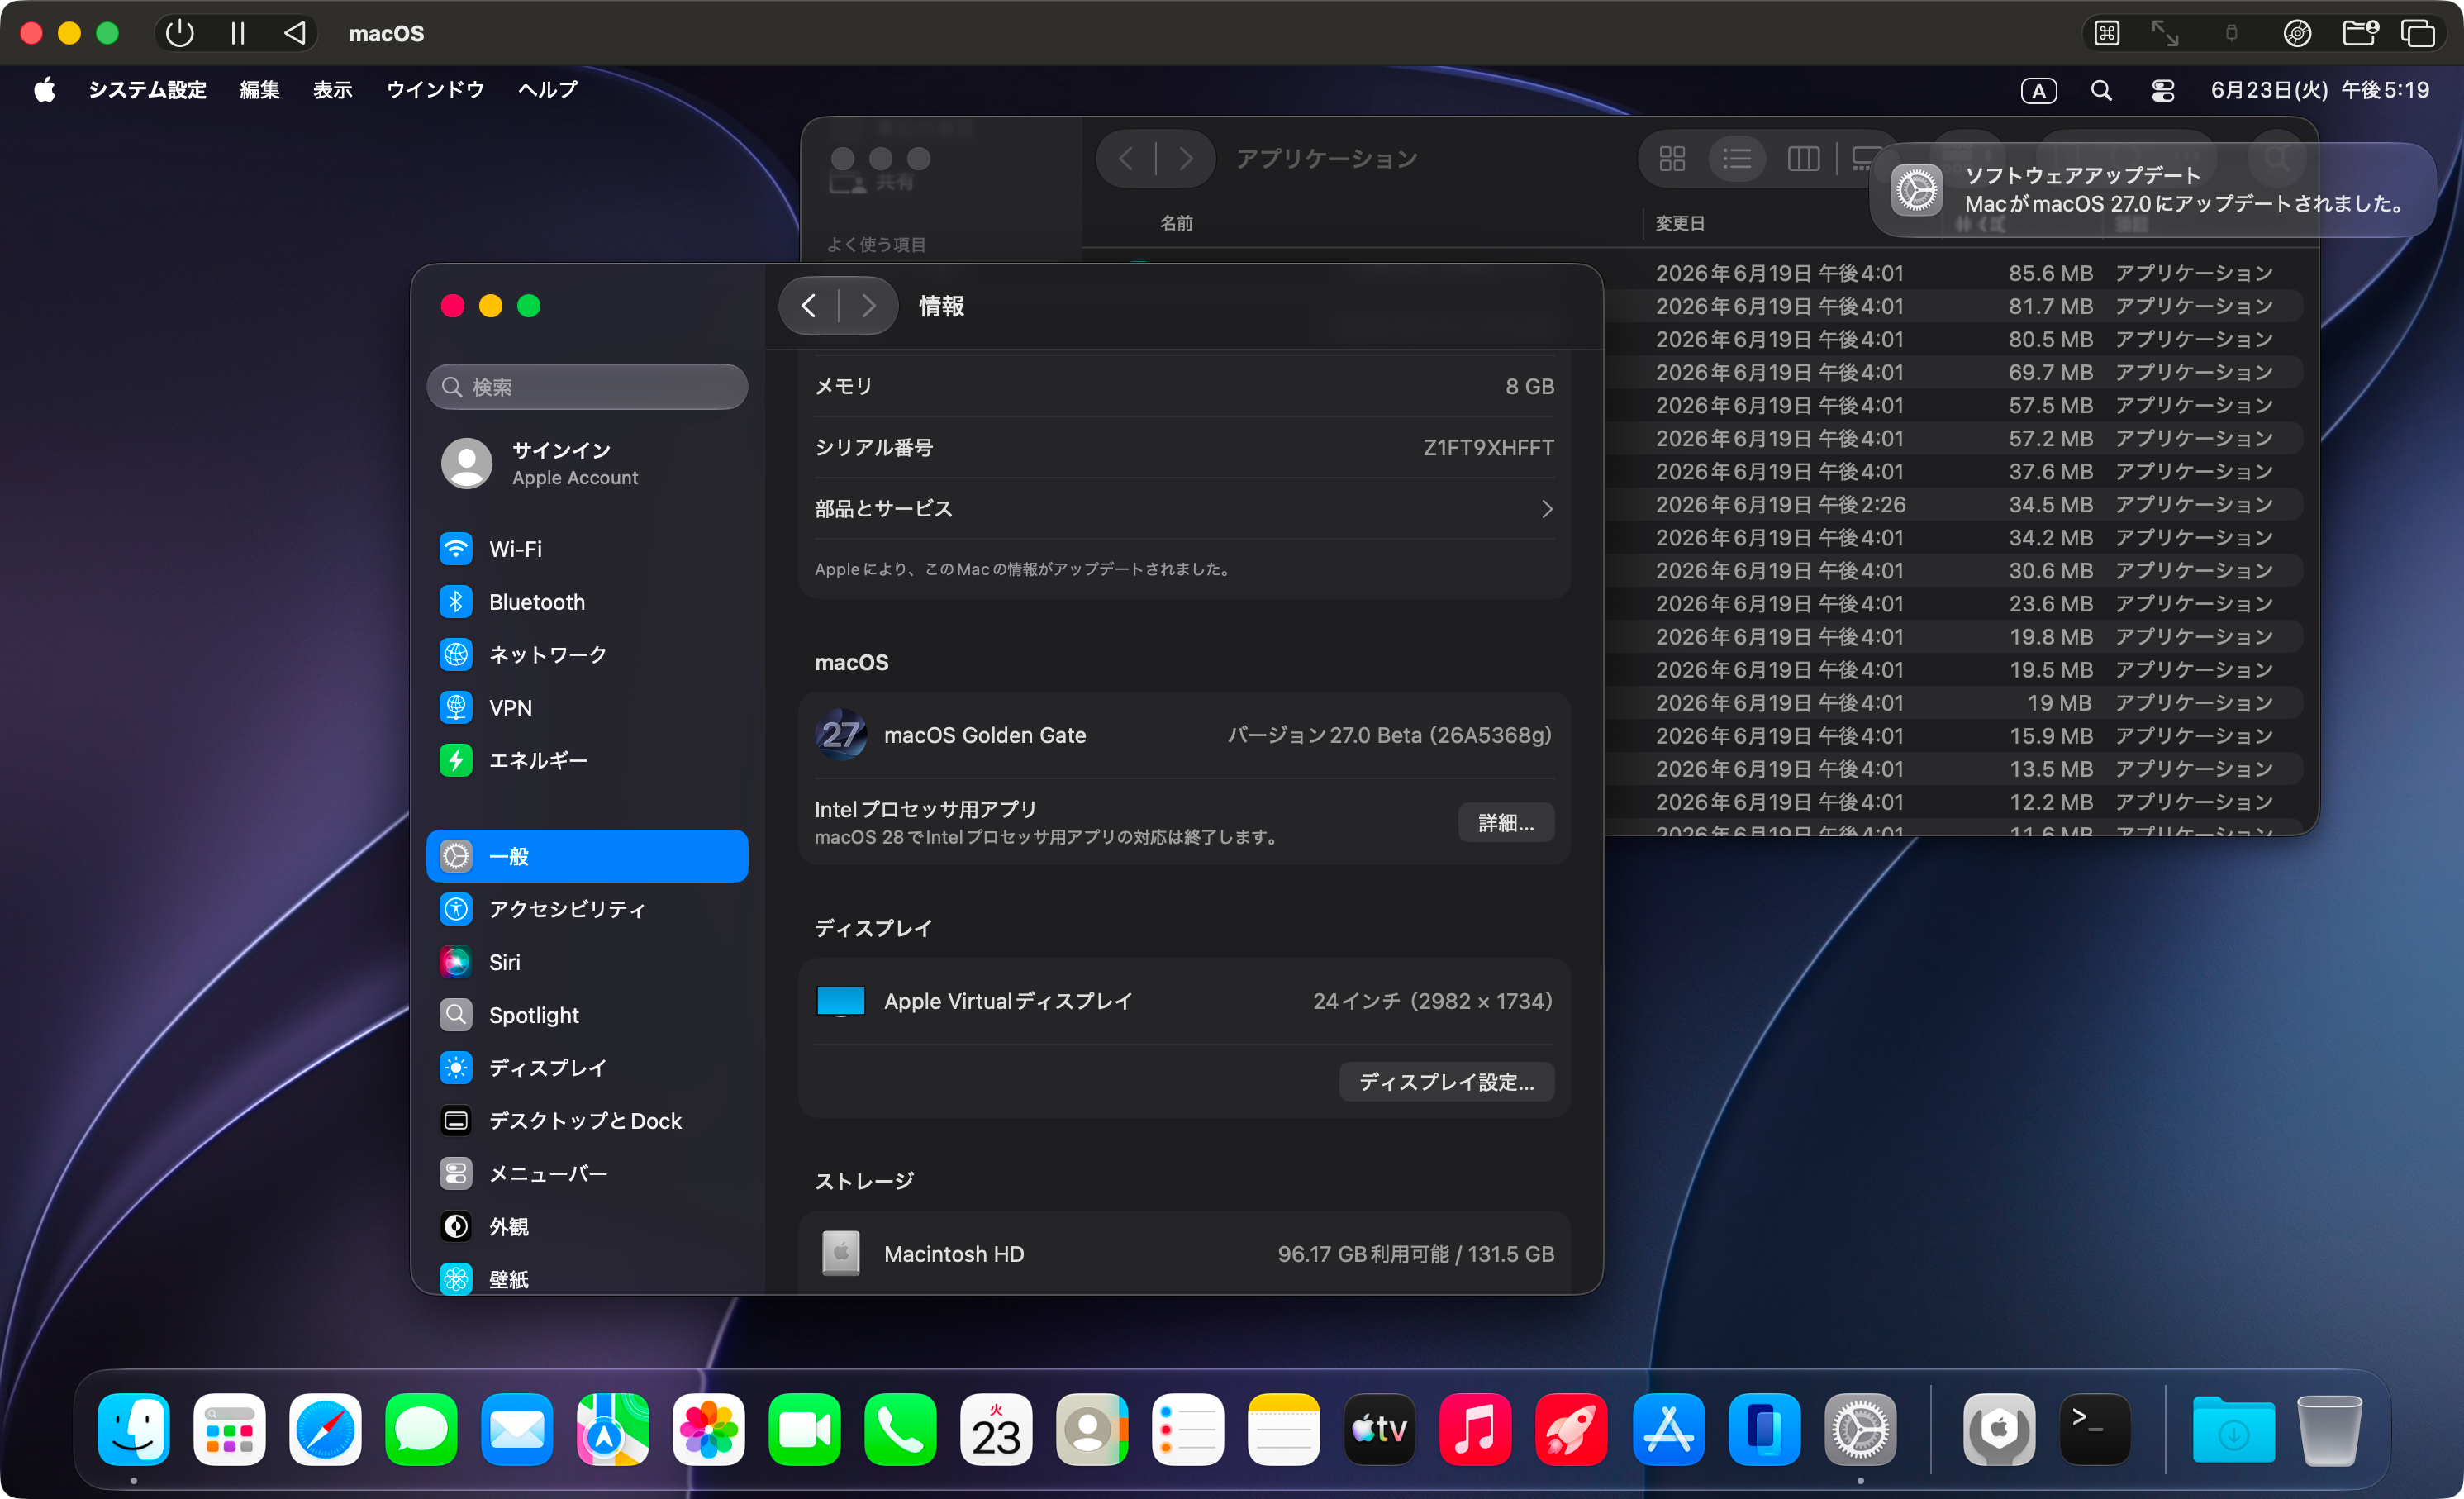
最后也是顺利升级db2了
直达教程 上面是完整踩坑记录,下面给一个不看过程的直达版。下面的路径、磁盘号、sector都是我的机器上的值,实际操作时一定要用自己的diskutil list和gpt -r show确认,不要无脑照抄。
0. 备份 先关机VM,不要Suspend。然后在宿主机备份整个.utm:
1
2
cd ~/Parallels
-S是为了尽量保留稀疏文件,不然可能把几十GB实际占用复制成完整一百多GB。
1. 找到虚拟磁盘文件 我的主磁盘是:
1 IMG="$HOME /Parallels/macOS.utm/Data/2E026EE7-1508-4357-95A0-6C51E3367C93.img"
先确认格式:
1
2
cd ~/Parallels/macOS.utm
如果看到file format: raw,就按raw镜像处理。
2. 扩raw镜像到128G 1 qemu-img resize -f raw Data/2E026EE7-1508-4357-95A0-6C51E3367C93.img 128G
检查:
1
2
3
qemu-img info Data/2E026EE7-1508-4357-95A0-6C51E3367C93.imgls -lh Data/*.imgdu -h Data/*.img
正常应该是virtual size变成128 GiB,但du仍然接近原来的实际占用。
3. 进入VM确认分区 启动VM:
1 diskutil list /dev/disk1
如果看到类似:
1
2
3
4
1: Apple_APFS_ISC Container disk2 524.3 MB disk1s1
说明外层Recovery挡在主APFS和free space中间。要扩主系统盘,就要先处理disk1s3。
如果你的布局是:
1
2
3
1: Apple_APFS_ISC
也就是主APFS后面直接就是free space,那可以跳过删除Recovery这一步,直接扩APFS。
4. 备份并删除外层Recovery 在VM内备份Recovery:
1
2
sudo hdiutil create -srcdevice /dev/disk1s3 -format UDZO -o ~/recovery.dmg
确认recovery.dmg做好之后,删除挡路的外层Recovery:
1
2
sudo diskutil eraseVolume free none disk1s3
此时主APFS后面应该直接是free space。
5. 扩主APFS容器 如果你不准备恢复外层Recovery,直接扩满:
1 sudo diskutil apfs resizeContainer disk1s2 0
如果想像我一样给Recovery留5.4GB,就指定目标大小。我的目标是131499999232B:
1 sudo diskutil apfs resizeContainer disk1s2 131499999232B
如果disk1s2不行,可以对synthesized container试,比如我的当时是disk4:
1 sudo diskutil apfs resizeContainer disk4 131499999232B
如果遇到-69743或者-69519,关键是先修整块物理盘的分区表状态。我的情况里就是这一步之后才成功扩容:
1
2
diskutil verifyDisk disk1sudo diskutil repairDisk disk1
如果提示是否继续修复,确认已经备份后输入y。然后再修APFS容器并重启:
1
2
3
diskutil verifyVolume disk4sudo diskutil repairVolume disk4sudo reboot
完成后确认:
1
2
3
diskutil list /dev/disk1df -h /sudo gpt -r show /dev/disk1
我的结果是:
1
2
3
1: Apple_APFS_ISC Container disk2 524.3 MB disk1s1
并且gpt里最后的free space是:
后面恢复Recovery就要用这两个数字。
6. 宿主机挂载带偏移的raw镜像 关机VM,回到宿主机。先确认这个镜像的GPT是否有5MiB偏移:
1 2 IMG="$HOME /Parallels/macOS.utm/Data/2E026EE7-1508-4357-95A0-6C51E3367C93.img" "EFI PART" "$IMG "
如果第一个结果类似:
说明真实guest disk从5MiB开始,用-section 10240挂:
1
2
3
4
hdiutil attach -nomount -readonly \"$IMG "
如果能看到GUID_partition_scheme、Apple_APFS_ISC、Apple_APFS,说明偏移找对了。然后先detach,后面再改读写挂载:
1 hdiutil detach /dev/disk4 2>/dev/null || diskutil eject /dev/disk4
为了能带完整长度挂载,我这里需要先补5MiB到文件尾部:
1 2 3 cur=$(stat -f %z "$IMG " )10240 + 268435456 ) * 512 ))echo "delta bytes = $((needed - cur) )"
如果delta bytes是5242880,执行:
1
2
cp -c "$IMG " "$IMG .before-recovery-gpt.bak" truncate -s "$needed " "$IMG "
然后挂载完整section:
1
2
3
4
hdiutil attach -nomount -readwrite -noverify -noautofsck \"$IMG "
这里的268435456是我这块guest disk的sector总数,来自VM内gpt -r show /dev/disk1最后的Sec GPT header位置加1。你的机器如果不是这个数,要换成自己的。
7. 用sgdisk重建Recovery分区 安装工具:
我的宿主机attach出来的设备是/dev/disk4,用sgdisk创建第3分区:
1
2
3
4
5
sudo sgdisk \
其中:
1
2
3
起始sector = 257859976
写完后重新挂载确认:
1
2
3
4
5
6
7
8
9
hdiutil detach /dev/disk4 2>/dev/null || diskutil eject /dev/disk4"$IMG " sudo gpt -r show /dev/disk4
能看到下面这个就OK:
1 3: Apple_APFS_Recovery 5.4 GB disk4s3
然后detach:
1 hdiutil detach /dev/disk4 2>/dev/null || diskutil eject /dev/disk4
8. VM内恢复recovery.dmg 启动VM,确认disk1s3已经回来:
1 diskutil list /dev/disk1
挂载源镜像:
1 2 REC="$HOME /recovery.dmg" readonly "$REC "
我的源设备是:
1
2
/dev/disk6 源镜像 physical store
所以先卸载源container,再把源physical store写到目标Recovery分区:
1
2
3
4
5
sudo diskutil unmountDisk force /dev/disk7sudo diskutil unmountDisk force /dev/disk3sudo dd if =/dev/rdisk6 of=/dev/rdisk1s3 bs=4m status=progresssync
这里的rdisk6、disk7、disk3都要按自己实际输出替换。最重要的是:if是源,of是目标,千万不要写反。
写完后:
1
2
hdiutil detach /dev/disk6 2>/dev/null || diskutil eject /dev/disk6sudo reboot
9. 校验 重启后:
1
2
3
diskutil list /dev/disk1
看到这些就说明恢复成功:
1
2
3
3: Apple_APFS_Recovery Container disk3 5.4 GB disk1s3
结语 这次折腾下来,最大的教训是:虚拟机扩容不是把.img拉大就完事了。对于macOS虚拟机来说,至少有三层东西要分清:宿主机上的虚拟磁盘文件、guest里面的GPT分区表、APFS container自己的容量。中间只要有一个没处理好,df -h /就不会变大。
另外,Apple Silicon macOS VM的磁盘布局确实比较特殊。这个.img前面有5MiB前置区域,宿主机直接hdiutil attach会把它当空盘,这个坑非常阴间。如果不是搜EFI PART定位到偏移,再用-section 10240挂载,我估计还要继续和diskutil互相折磨很久。
总之,最后db2可以继续升级,Recovery也校验通过,算是折腾成功。下次再建macOS测试虚拟机,我一定一开始就给够空间。真的,虚拟机硬盘这种东西,抠门一时爽,扩容火葬场。